Average response time: under 24 hours
Add dye to polished concrete after the surface is ground flat and open — typically after the 200 or 400 grit pass, before the resin polishing grits. The dye soaks into the open pores, then the finer grits polish over it and the sealer locks the color in. Dyes penetrate and deliver rich, uniform color on a polished floor; stains react with the concrete and give a more translucent, mottled look. Match the color step to the polishing sequence: flat surface first, color second, polish third, seal last.
The two products work differently:
For a polished floor that will look like colored stone, dye is the standard choice. For a variegated, organic look, stain. Both need the surface to be ground to a consistent open condition first, or the color varies with the surface density.
The sequence is: grind flat and open (50-200 grit) → apply densifier (optional but recommended) → apply color → continue polishing (400-3000) → seal. Color must go on an open, clean surface so it penetrates evenly. If you apply color after the surface has closed with fine grits, it sits on top and rubs off; if you apply it before grinding is done, the coarse grits grind the color away. The 200-400 stage is the sweet spot — flat, open, but past the heavy stock removal.
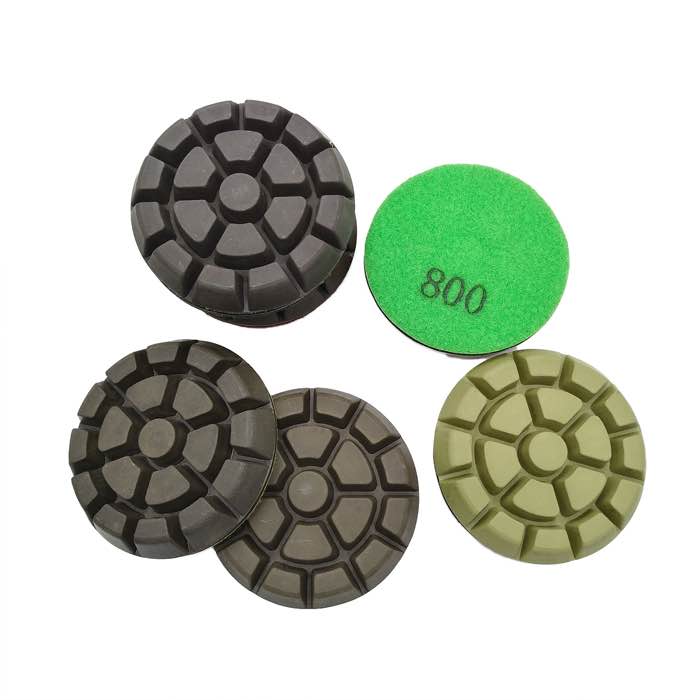
After the dye dries, continue the grit sequence with resin pads. The fine grits do not remove the dye — they refine the surface above it, and the polish actually enhances the color by making the surface reflect light. Keep the pads clean: colored slurry from the dye stage can streak if it carries into the next grit, so wash the floor between the color step and the first polishing pass. Use a clean pad for the final 1500-3000 passes to avoid smearing color.
Densifier before color is a good practice: it hardens the surface so the dye penetrates more evenly and the fine grits develop a true gloss. If the concrete is soft, skip densifier and the dye may pool in low spots — the floor then needs more coats to even out. For the gloss development after color, the standard progression applies; see concrete polishing grit progression.
Dyed polished concrete must be sealed — dye is color in the pores, not a protective layer, and the polish is not waterproof. Use a sealer matched to the floor's use: a penetrating sealer for low traffic, a topical sealer or wax for showroom gloss, and a film-forming sealer where stain resistance matters. The sealer also deepens the color slightly — test on a sample first so the final shade is the one you want. Reapply topical sealers every 1-3 years; penetrating sealers last longer.
Polish over the color with white resin polishing pads, and refine edges with triangular pads.
After the surface is ground flat and open, typically after the 200 or 400 grit pass. The dye penetrates the open pores, then the fine grits polish over it and the sealer locks it in.
Dye penetrates as a fine pigment for rich, uniform color. Stain reacts with the concrete's lime for translucent, mottled, natural tones. Dye suits polished floors; stain suits organic looks.
Yes. After the dye dries, continue with resin pads from 400 to 3000. The fine grits refine the surface above the color; the polish and sealer protect it.
Yes. Dye is not a protective layer. Seal with a penetrating or topical sealer matched to traffic, and reapply topical sealers periodically.
Color turns a gray polished floor into a design feature: grind flat and open, apply dye or stain at the 200-400 stage, polish through the finer grits, and seal to protect and deepen the color. Dye for rich uniform tone, stain for natural mottle, and test on a sample first. Done in the right order, color becomes part of the floor — not a coating that wears off.
Written and reviewed by JOY TECH - an SGS & BV audited, CE/RoHS certified diamond tools manufacturer founded in 2004, exporting to 50+ countries.
Our factory and quality management system are audited by SGS and Bureau Veritas. Products meet CE/RoHS requirements and every piece is 100% inspected before packing.
Verified Certificates
