Average response time: under 24 hours
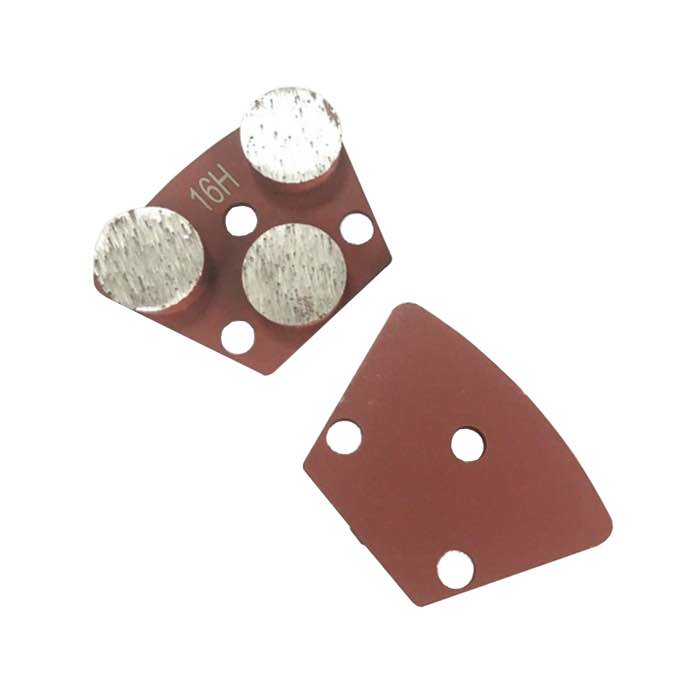
When grinding concrete near expansion or control joints, do not grind across the joint or over the sealant. Mask the joint with tape or a joint protector, grind up to within about 10 mm of each edge, then hand-finish the strip with a smaller cup wheel. After grinding, clean out the joint and re-apply sealant if it was disturbed. Destroying the joint line breaks the slab's stress relief and leads to random cracking.
Expansion joints (also called control or contraction joints) are saw-cut or formed gaps between concrete pours. They give the slab a controlled place to crack as it expands, contracts and settles. The joint is usually filled with backer rod and a flexible polyurethane or silicone sealant. If you grind the joint flat, grind the sealant out, or grind over the gap, you remove the slab's built-in stress release. The concrete will then crack somewhere else, usually in the middle of a finished floor where it is most visible.
Walk the floor and mark every joint. Check the sealant condition: if it is already cracked, pulled away, or full of dirt, plan to re-seal after grinding. Note where joints meet walls, columns and other fixed points. These corners are where grinding tools often dig in and where the joint is most easily damaged.
Lay a strip of wide masking tape along both sides of the joint, covering the sealant and about 5 mm of concrete on each side. This gives you a visual guide and keeps the disc from wandering over the sealant. For wider joints, push a strip of wood, plastic or a joint protection tool into the gap to physically block the disc.
Some contractors use a dedicated diamond joint-cleaning wheel to re-open the joint after grinding, but that is a separate step. Do not use your main grinding disc to clean the joint; it will round the edges and widen the gap.
Grind the main floor area up to within about 50 mm of the joint with the walk-behind grinder. Then switch to an angle grinder with a diamond cup wheel to finish the strip alongside the joint. Keep the disc moving parallel to the joint, not across it. Hold the grinder flat on the slab and let the outer edge of the cup run along the taped line. Do not tilt the cup into the joint; this will chip the edge of the concrete and chew up the sealant.
If you are polishing the floor, the same rule applies: grind and polish up to the joint, then hand-finish the border. Never run the planetary disc across a joint; the disc will catch the gap and jump.
If you run the disc over the joint and grind the sealant out or round the edge, stop. Clean out the joint with a joint saw or a hand chisel, remove any damaged concrete edges, blow out dust, insert new backer rod, and re-seal with the correct polyurethane sealant. A joint that has been ground over is no longer protecting the slab; it needs to be restored before the floor is put into service.
Even if you did not damage the joint, grinding dust will have settled into it. Blow the joint out with compressed air, wipe the sides with a solvent, and check the sealant. If the sealant is dull, cracked or pulling away, it is good practice to re-seal. Use a sealant rated for concrete movement, tool it smooth, and keep traffic off until it cures. New sealant bonds poorly to dusty surfaces, so this step matters.
Grinding around expansion joints is a detail job. Protect the line, grind close but not over it, hand-finish the strip, and re-seal when you are done. The extra 15 minutes per joint saves a random crack in the middle of a finished floor that would be far harder to fix.
Not all joints are the same, and the way you work around them changes with the type. Contraction joints are saw-cut grooves, typically 3 to 5 mm wide and a quarter of the slab depth; these are the most common on garage and warehouse floors. Isolation joints separate the slab from walls, columns or footings and are usually wider, filled with compressible board. Construction joints are where one pour ends and the next begins; they may have a keyway or dowels. Treat all of them as permanent lines that must be preserved. Do not fill a saw-cut joint with grindings and call it done; it still needs to flex.
Beyond the standard grinder and cup wheel, keep a few joint-specific tools on hand. A stiff wire brush on a grinder cleans dust out of the joint without widening it. A caulking gun with backer rod and polyurethane sealant is required for re-sealing. A small hand chisel or a utility knife trims any sealant that has over-flowed. If you have a long run of joint, a dedicated joint saw or oscillating tool with a diamond blade makes re-opening the gap faster and cleaner than a hand chisel.
Written and reviewed by JOY TECH - an SGS & BV audited, CE/RoHS certified diamond tools manufacturer founded in 2004, exporting to 50+ countries.
Our factory and quality management system are audited by SGS and Bureau Veritas. Products meet CE/RoHS requirements and every piece is 100% inspected before packing.
Verified Certificates
