Average response time: under 24 hours
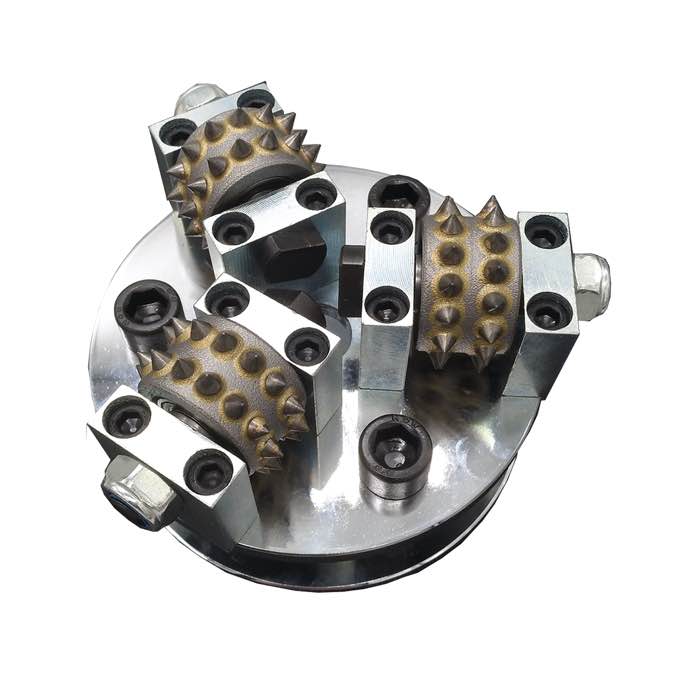
Rake marks and rough surfaces come down to the same root causes: machine condition, tooling match and technique. Use a 115-125 mm cup wheel for vertical edges and risers, and a bush hammer or small plate for treads. Work the same grit stage sequence as the floor (coarse metal first, then finer), feathering into the equipment ground area so there is no visible line.
For machine-matched tooling, browse our 3'' Metal Bond Diamond Grinding Disc with 4 Segments range.A closer look at the details.
A walk-behind grinder leaves a 100-150 mm unground band along every wall, and cannot reach stair tread nosings, risers, corners or drains.
Getting this part right saves a full re-pass later.
What you should know before starting.
Contractors who skip this stage usually end up redoing the floor.
The key points in practice.
Start with the cup wheel at 30/46 grit stage to flatten form-tie marks and trowel ridges, keeping the wheel level on the surface — never tilt the edge of the cup, which digs gouges.
This is where most crews get it right - or lose time.
A closer look at the details.
For overhead or vertical riser work, a smaller 100 mm cup wheel gives more suitable control.
Getting this part right saves a full re-pass later.
What you should know before starting.
Contractors who skip this stage usually end up redoing the floor.
The key points in practice.
A rule of thumb: edge and stair work adds 30-50% to the total abrading time.
This is where most crews get it right - or lose time.
A closer look at the details.
Do not abrade the sharp corner aggressively — it chips.
Getting this part right saves a full re-pass later.
What you should know before starting.
Plan to spend an extra pass on stair treads and edges with the same resin grit stage used on the floor.
Contractors who skip this stage usually end up redoing the floor.
The key points in practice.
Wall corners and around drains require small hand tools: a 3-inch diamond pad on a right-hand grinder, or a handheld diamond block.
This is where most crews get it right - or lose time.
A closer look at the details.
Concrete dust etches glass and stains baseboards.
Getting this part right saves a full re-pass later.
What you should know before starting.
Feather the last 10 cm by running the cup wheel outward from the wall, matching the floor's exact grit stage.
Contractors who skip this stage usually end up redoing the floor.
A: For most jobs, Only small, dedicated stair grinders. Standard walk-behind equipment are too heavy and unsafe on stairs; use hand tools.
A: In short, Feather the last 10 cm of equipment ground area with the hand cup wheel, and match the exact grit stage sequence on the edge.
A: The practical answer is, Use a smaller cup wheel or hand-held diamond pad; do not try to round a sharp nosing aggressively — it chips.
A: For most jobs, Yes, for indoor silica control. Wet edge abrading is an alternative however creates grinding slurry.
Looking for the right tool? Check our 3'' Metal Bond Diamond Grinding Disc with 10 Segments. Looking for the right tool? Check our 3'' Metal Bond Diamond Grinding Disc with 5 Segments.Match the tooling to the concrete, keep the machine in good condition, and run even passes - the finish follows. Plan for hand abrading time separately — edges can take 30-50% of total labor.
Written and reviewed by JOY TECH - an SGS & BV audited, CE/RoHS certified diamond tools manufacturer founded in 2004, exporting to 50+ countries.
Our factory and quality management system are audited by SGS and Bureau Veritas. Products meet CE/RoHS requirements and every piece is 100% inspected before packing.
Verified Certificates
