Average response time: under 24 hours
Yes, fix holes, spalls, and cracks before polishing concrete, because grinding opens them wider and polishing will highlight every defect. Clean the damage, fill with a repair mortar or a cementitious patching compound matched to the concrete, and let it cure before the grinding stages. Grind the repairs with the coarse steps so they blend into the floor, then continue the polish sequence. Large or active cracks may need saw-cut and epoxy injection instead of a surface patch.
Polishing grinds away 1-3 mm of surface, so any hole or crack becomes larger and more visible as the surface drops. A repair that sits proud gets ground down with the floor; one that sits below stays visible as a dark void. Repairs made before polishing become part of the floor and take the same finish. Repairs made after polishing stand out as patches. The sequence is: assess, repair, cure, grind, polish, and the repairs should be invisible in the final gloss.
Use a cementitious repair mortar for structural patches, holes, and spalls, matched to the slab's strength and colour. For small holes and pits, a high-strength patching compound or epoxy mortar works. For cracks, decide between a rigid patch and a flexible repair: rigid for non-moving cracks, flexible for cracks that may move. Epoxy injection suits structural or active cracks. Match the repair's compressive strength to the slab so it wears at the same rate during polishing; a soft patch will dish out under the diamonds.
| Defect | Material | Notes |
|---|---|---|
| Small pits / holes | Patching compound | Match colour |
| Spalls / edges | Repair mortar | Feather edges |
| Static crack | Rigid patch or epoxy | Open and fill |
| Active crack | Flexible or saw-cut + inject | Monitor movement |
Clean the hole down to sound concrete, removing loose material and dust, and dampen the surface before patching so the repair bonds. Fill the hole slightly proud with the repair material, then strike it flush. Let it cure fully; a repair that is not cured will grind out. For large spalls, key the edges by undercutting so the patch holds. After cure, the coarse grinding pass will level the repair with the floor. Check for shrinkage cracks around the patch after it dries; fill any hairline gaps before polishing.
For surface cracks that are not moving, chase the crack with a grinder or saw to open it, clean it, and fill with a rigid repair mortar or epoxy. For active or structural cracks, cut a saw slot along the crack, install a flexible filler or inject epoxy, and consider a crack-monitoring check. Do not just smear a patch over a crack; it will fail and show through the polish. Let the repair cure, then grind it with the coarse steps. If the crack is wide and long, consult an engineer before choosing the repair method.
The coarse grinding steps (30-50 grit) level the repairs and feather their edges into the floor. Grind in overlapping passes, checking with a straightedge, until the repaired area is flush. Then continue the polish sequence with the same grits as the surrounding floor so the sheen matches. If a repair is darker or lighter than the slab, a densifier or tinted sealer can help even the colour at the finish stage. Repairs that were filled proud and ground flat become invisible in the polished surface.
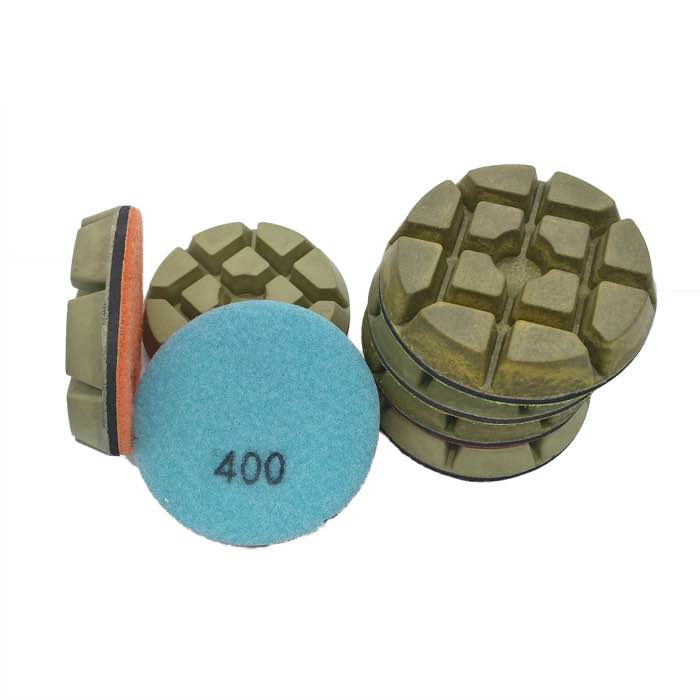
For an even gloss, work through diamond resin polishing pads in the correct grit sequence.
Keep resin floor polishing pads on hand so the finish stages of the floor stay consistent.
Grinding the repairs flat with a diamond trapezoid grinding disc prepares them for the polishing sequence.
Written and reviewed by JOY TECH - an SGS & BV audited, CE/RoHS certified diamond tools manufacturer founded in 2004, exporting to 50+ countries.
Our factory and quality management system are audited by SGS and Bureau Veritas. Products meet CE/RoHS requirements and every piece is 100% inspected before packing.
Verified Certificates
