Average response time: under 24 hours
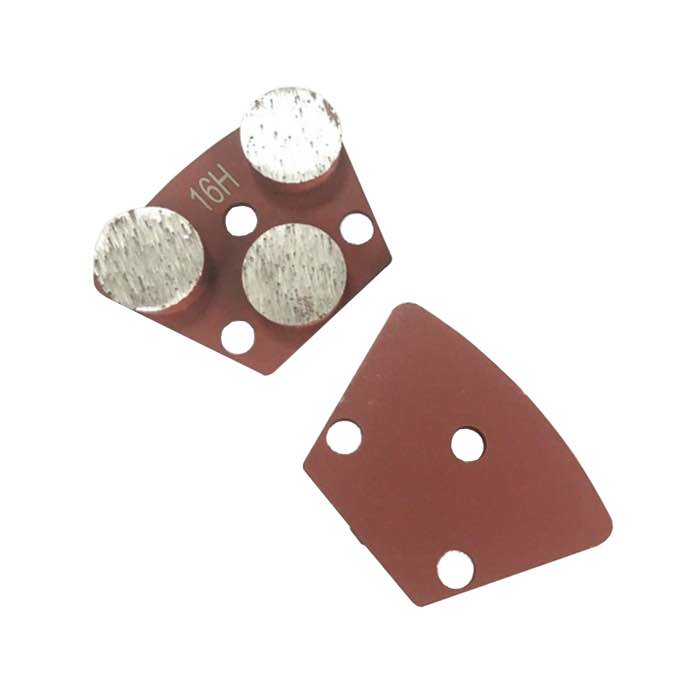
Before tiling, grind down high spots until the floor is flat within about 3 mm over 3 m (a 1/8-inch tolerance over 10 feet is a common rule), then clean thoroughly so the thinset bonds. Find high spots with a straightedge, grind them with a coarse diamond disc, and check again. Grind only the highs; for dips and large uneven areas, use a self-levelling compound instead of grinding the whole floor down.
Tile needs a flat, not necessarily level, substrate. The standard tolerance is about 3 mm over 3 m (1/8 in over 10 ft), with some large-format tiles requiring a tighter 2 mm over 3 m. Grinding fixes high spots but cannot fill dips, so measure the whole floor first: lay a 3 m straightedge across the floor in a grid and mark every high and low area. Tile lippage, not the overall slope, is what grinding controls; a slight slope for drainage is acceptable.
Slide the straightedge across the floor in both directions and mark where it rocks over a bump or shows a gap on both sides of a high. Chalk the outline of each high spot and write the estimated height next to it. Pay extra attention to slab joints, trowel ridges, and edges where finishing often leaves a crown. If the floor is very uneven, mark a grid on paper and record heights so you can see which areas need grinding and which need filling.
Use a floor grinder or angle grinder with a coarse metal-bond diamond disc (30-40 grit equivalent) to bring the highs down. Grind inside the marked areas in overlapping passes, keeping the disc flat, and check with the straightedge every few passes. Remove 1-2 mm at a time; grinding too deep creates a dip you cannot fill without self-leveler. For very high crowns over 5-8 mm, consider a scarifier or a PCD head for speed, then refine with the diamond disc. Vacuum between checks so the surface is visible.
| Defect | Method |
|---|---|
| High spot, 1-3 mm | Coarse diamond disc |
| High spot, 3-8 mm | PCD head, then disc |
| Dip / low area | Self-levelling compound |
| Large uneven floor | Full self-leveler pour |
Do not grind the whole floor down to fix widespread dips; you will remove too much concrete and shorten the slab. Use a self-levelling compound over low areas, or over the entire floor when the substrate is too uneven for practical grinding. Self-leveler also corrects the surface for large-format tile, which demands a flatter floor than thin-set can absorb. Grind or shot-blast the slab, prime it, and pour the self-leveler to the required thickness. If in doubt about the floor's condition, self-levelling over a ground substrate is the safer route.
After grinding, vacuum the floor thoroughly and wipe it with a damp cloth to remove all dust. Thinset will not bond to dusty concrete, and even a light film of dust causes hollow tiles. Check the moisture level of the slab; if it is damp, let it dry or use a moisture barrier per the tile manufacturer's instructions. Then lay out the tile and start with a bond test in a corner. Keep the ground floor protected from foot traffic and dirt until the thinset goes down.
For dependable concrete grinding, equip your machine with a diamond trapezoid grinding disc matched to the concrete hardness.
See the diamond grinding cup wheels to keep every stage of the job running with quality consumables.
After grinding, diamond resin polishing pads can smooth the surface further where the tile spec demands an extra-flat substrate.
Written and reviewed by JOY TECH - an SGS & BV audited, CE/RoHS certified diamond tools manufacturer founded in 2004, exporting to 50+ countries.
Our factory and quality management system are audited by SGS and Bureau Veritas. Products meet CE/RoHS requirements and every piece is 100% inspected before packing.
Verified Certificates
