Average response time: under 24 hours
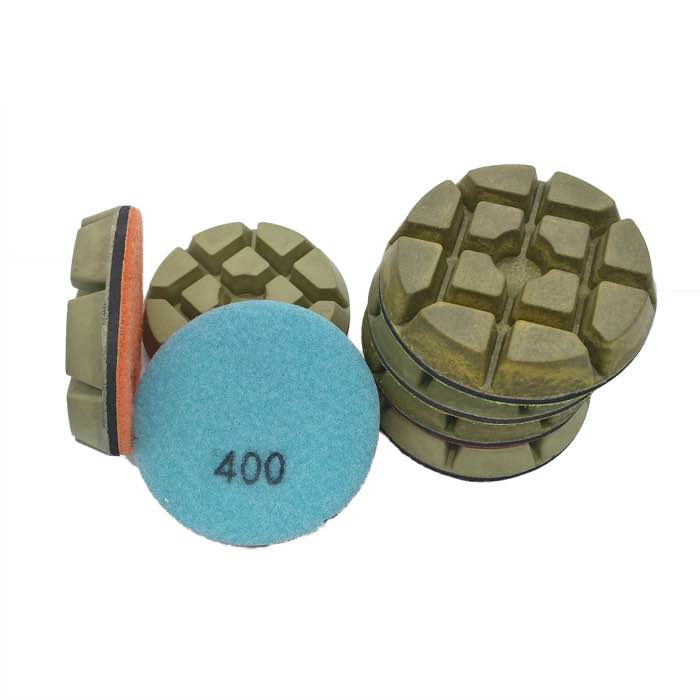
A ride-on polisher covers 5 to 10 times the area of a walk-behind, but it punishes setup mistakes. Set disc pressure to 15 to 25 kg per head, keep travel speed at 15 to 20 m per minute for resin passes, and overlap every pass by 30 percent. Engage the head only once the machine is moving, lift it before you stop or turn, and never pivot on a corner with the discs down. Start with a 200 grit test strip, read the scratch pattern, then climb the grit ladder like any other job.
Walk-behind polishers rely on the operator to lean on the handle for pressure. Ride-ons carry their own weight, so pressure is set by hydraulic or spring load, not by feel. That means you cannot compensate for a dull pad by pushing harder; you have to change the pad. It also means the machine can leave a consistent scratch pattern across a 2,000 m² floor in a day, which is why warehouses and retail boxes use them.
Walk around the machine. Check every holder for loose pads, worn clips, and a clean water line. A missing clip flings a pad across the floor at 1,200 rpm and can crack the slab. Match pads to the grit step; the JOY-RFP-01 resin polishing pads are the standard 800 to 1500 grit choice for ride-on plates.
Fill the water tank, open the valve, and confirm flow at each head. On electric machines, confirm the cable gauge matches the draw and that the reel pays out behind you, never across the path. On propane machines, check fuel and ventilation.
Pick a 3 m by 3 m patch near the entrance. Run three overlapping passes at your planned pressure and speed. Stop, rinse, and inspect in raking light. The scratch pattern should be even, with no swirl lines or low spots. If you see swirls, the head is not flat or the pads are not all seated. If you see low spots, the slab needs a metal-bond flattening pass before resin.
Run the machine in straight, overlapping rows. At the end of each row, lift the heads, back up 2 m, and re-enter parallel to the last row. Use the JOY-RFP-02 resin pads for the mid-ladder steps on dense slabs, then step up to finer grits. Never run a half-worn pad on one corner of the floor while fresh pads cover the rest; wear mismatches show as a tone line.
Turning a loaded ride-on in place carves a crescent scratch into the slab. Lift heads, drive in a wide arc, then lower again. Plan your rows so turns happen in the next aisle, not in the middle of the polished zone.
A ride-on cannot reach within 20 to 30 cm of a wall. Finish the perimeter with an edger or hand grinder at the same grit sequence. The copper-bond transitional pads in JOY-RFP-C2 bridge the gap between metal and resin on tight edges where the big machine cannot follow.
Every two hours, inspect pads, clean the water filters, and check that no clip has come loose. At the end of the day, raise all heads, pull the machine off the slab onto plywood, and power wash the head plate. Pads left wet on the plate warp overnight. A well-driven ride-on puts out 300 to 500 m² per shift through the 800-grit step; treat it as precision equipment, not a lawnmower, and the finish will reward you.
On the first day on a new floor, budget an extra hour for setup. Walk the perimeter, locate power drops, and mark expansion joints the machine will cross. Never drive the ride-on across a joint at full downforce; lift the heads, cross the joint, then lower again. A loaded head dropped into an open joint chips both the concrete edge and the pad holder.
Written and reviewed by JOY TECH - an SGS & BV audited, CE/RoHS certified diamond tools manufacturer founded in 2004, exporting to 50+ countries.
Our factory and quality management system are audited by SGS and Bureau Veritas. Products meet CE/RoHS requirements and every piece is 100% inspected before packing.
Verified Certificates
