Average response time: under 24 hours
Apply sealer to polished concrete after the final polishing step, once the floor is clean, dry, and dust-free. Most polished floors need two coats of a topical sealer, or one to two applications of a penetrating sealer; the number depends on the product and the floor's porosity. Test with a water drop: if water soaks in, the floor needs more sealer. Wait the full cure time before traffic, and re-seal when the floor no longer beads water.
Seal after the last polishing pass and before any traffic or furniture. The floor must be completely clean: vacuum thoroughly, wipe with a damp cloth, and let it dry fully, because sealer over dust or moisture will fail. If a densifier was used, apply the sealer after the densifier has cured, per the product schedule. Do not seal before the final gloss pass, and do not walk on the floor between cleaning and sealing. Schedule sealing when the space can stay closed for the full cure time.
A topical sealer sits on the surface as a film: it adds gloss, colour depth, and a protective layer that wears and can be re-coated. A penetrating sealer soaks into the pores, protects from within, keeps the natural look, and does not change slip or gloss much; it never needs stripping but offers less stain protection on very porous floors. Many polished floors use a penetrating densifier plus a topical topcoat for the best of both. Choose based on the look and the traffic the floor will take.
| Type | Coats | Best for |
|---|---|---|
| Penetrating / densifier | 1-2 applications | Natural look, low maintenance |
| Topical acrylic | 2 coats | Gloss, stain barrier |
| Topical polyurethane | 2 coats | Heavy traffic, abrasion |
Two coats of a topical sealer is the common recommendation: the first coat seals the surface and the second builds a uniform film. Some high-build products need only one, and some penetrating sealers are applied until the surface stops absorbing, which may be one or two applications. Follow the manufacturer's instructions, including the interval between coats. Test a corner: after the recommended schedule, a water drop should bead for minutes without soaking in. If it soaks, apply another coat.
Apply sealer with a roller, mop, or squeegee in a thin, even coat, working in sections and keeping a wet edge so you do not double-coat lines. Use the manufacturer's application rate; more sealer than recommended causes streaks and tacky film. Allow the first coat to dry before the second, and ventilate the space. Do not walk on the floor between coats. After the final coat, wait the full cure time specified on the label before foot traffic, and longer for heavy loads. Keep the room at normal temperature and humidity for even cure.
Re-seal when the floor looks dull, stains more easily, or no longer beads water. A quick test: pour a small puddle; if it soaks in within seconds, the sealer is gone. For topical films, clean the floor, scuff-buff with a resin polishing pad if the product allows, and apply fresh coats. For penetrating sealers, simply reapply when the floor absorbs. Keep a record of the sealer used so maintenance coats match the original chemistry.
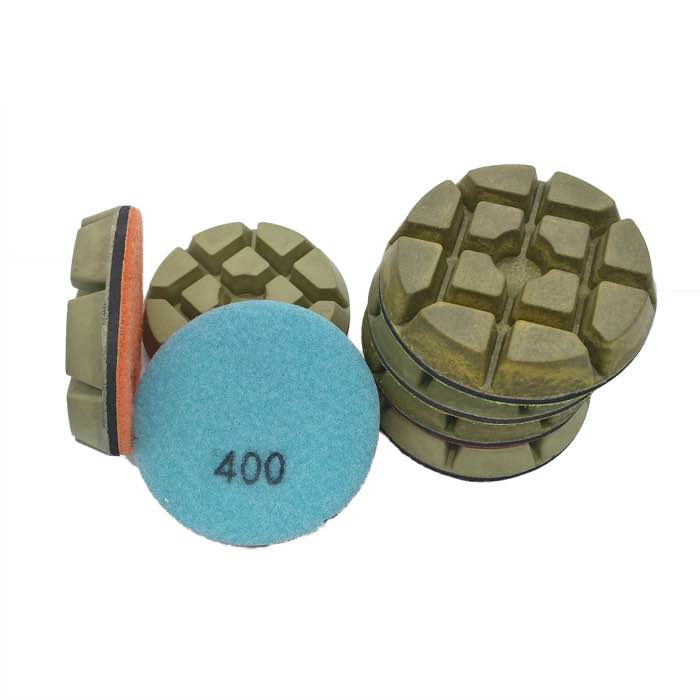
For an even gloss, work through diamond resin polishing pads in the correct grit sequence.
Keep resin floor polishing pads on hand so the finish stages of the floor stay consistent.
Written and reviewed by JOY TECH - an SGS & BV audited, CE/RoHS certified diamond tools manufacturer founded in 2004, exporting to 50+ countries.
Our factory and quality management system are audited by SGS and Bureau Veritas. Products meet CE/RoHS requirements and every piece is 100% inspected before packing.
Verified Certificates
