Average response time: under 24 hours
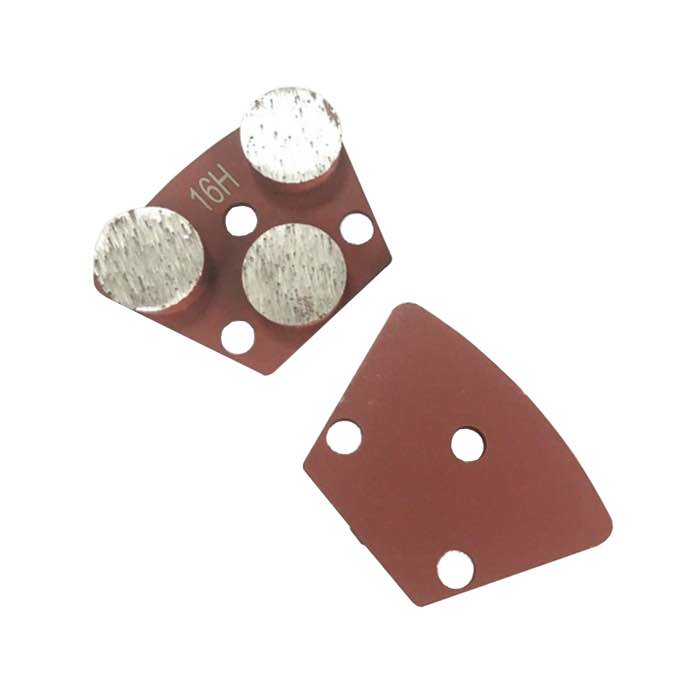
Showroom and retail display floors are judged under light that site lamps do not reproduce: track spots and accent lighting pick up every haze band, cloud spot and edge streak. The delivery risk is not the grinding but how the finish reads after fixtures arrive. This article covers panel matching, inspection lighting, gloss consistency and touch-up. Figures are planning targets; final limits follow the specification.
Walk the space with the owner rep before pricing: slab grade, existing coating, joints and in-floor services. A showroom slab is usually a structural slab or a 40-80 mm topping; confirm cover depth near columns so metal phases do not cut reinforcement. Surface temperature 10-30 C and RH below 75-80% are required before densifier. Flag cracks and spalls, and agree repair method and grind depth before mobilization.
Mark the display wall line, feature island and entry threshold. The open area runs on a walk-behind or ride-on unit; the wall band and thresholds need edge tools. Note trenches, outlets and drainage channels to protect after trade work.
Cut a mock-up on site, at least 3 x 3 m, in the same slab, grit sequence, densifier dilution and sealer as production. Seal it after approval and keep it in the office through handover; owners compare the floor against that panel, not catalog photos. Record target CSP, 60-degree gloss, exposure and tone. Display-grade finish typically targets CSP 5-7; CSP 3-4 exposure is agreed in writing.
Match sample to main area zone by zone. Color shift comes from paste, curing residue and patch mortar; grinding deeper in one bay lightens the aggregate read. If the pour varies, set grind depth to the lighter bay rather than cutting unevenly. Record the panel gloss baseline and grit list.
Owners inspect under their own lighting, and flat bright room light hides scratches that raking light reveals. Run the inspection after fixture lighting is usable, or use raking lamps 1.5-2.5 m above the surface at a 15-30 degree angle. The check band is 300-500 lux at the floor: below 300 lux haze is missed, above 500 lux normal marks read as defects. Walk in two directions, marking bands with removable tape.
Read 60-degree gloss on a grid: one point every 10-15 m2 in the open area, denser near walls and thresholds. Adjacent areas may differ by 5 gloss units and stay acceptable; a gap above 15 units between neighboring readings is a rework trigger. Cloud spots and swirl read as lower gloss under raking light even where meter values sit close.
| Zone | Inspection light | Metric | Acceptance limit | Action over limit |
|---|---|---|---|---|
| Main open display area | 300-500 lux raking | 60-degree gloss vs panel | Within 5 units; max gap 15 | Re-grit band from 400 grit |
| Feature wall and island band | 300-500 lux oblique | Scratches, swirl, cloud spot | None visible at walking height | Local restart and re-seal |
| Entry threshold | Fixture light or 400 lux | Match to panel and adjacent room | Gloss gap under 5 units | Edge-tool blend over 1-2 m |
| Under-fixture positions | 400-500 lux supplement | Edge streak and paste tone | No streak wider than 50 mm | Hand-held re-pass at 800 grit |
Patch repair needs a matched grit restart at the band, not a quick pad pass: restart at 400 grit, carry through 800, 1500 and 3000, then reapply densifier or sealer over the strip. A quick pad pass leaves a dull patch that shows under the same raking light at walkthrough.
Run the standard sequence unless the slab needs more stock removal: metal bond 16/20/30/40 to open and flatten, resin 100/200/400/800/1500, with 3000 where a mirror read is specified. Do not skip resin steps: a 100 grit scratch left under 400 shows as a haze band. Densifier goes on after the 200 or 400 step, commonly 1:64 (about 15 ml/L) neat and 1:128 (about 8 ml/L) ready-use; let it react 20-40 min before the next pass.
Control joints and saw-cut lines collect paste and filler; clean them after grinding and refill or seal per spec. Where the slab meets tile, carpet, wood or a threshold, agree the edge profile beforehand: straight cut, shallow bevel or matched strip. Pour joints are the first place a gloss mismatch appears; run the edge tool across both sides in one pass. Protect adjacent rooms from slurry and dust.
Schedule a final touch-up 1-2 days before the walkthrough: HEPA vacuum, wet-mop, inspect under the agreed light, mark defects. The walkthrough runs zone by zone against the mock-up and table; each flagged item gets location, photo and correction date. Keep walk-off mats at the entry until fixtures are installed; sealer cure for a high-traffic entry usually needs 24-72 h before foot traffic, longer before carts.
Most showroom disputes fall into four patterns. Lighting expectation: the owner compares the floor to a photo under perfect light; approve the inspection level and angle at the mock-up stage. Color mismatch between pours: settle grind depth before production, not after sealing. Scratches from later trades: record a baseline walk-through before fixture delivery. Gloss banding near walls: allocate edge-tool time, since a machine-only finish leaves a visible band.
Written and reviewed by JOY TECH - an SGS & BV audited, CE/RoHS certified diamond tools manufacturer founded in 2004, exporting to 50+ countries.
Our factory and quality management system are audited by SGS and Bureau Veritas. Products meet CE/RoHS requirements and every piece is 100% inspected before packing.
Verified Certificates
