Average response time: under 24 hours
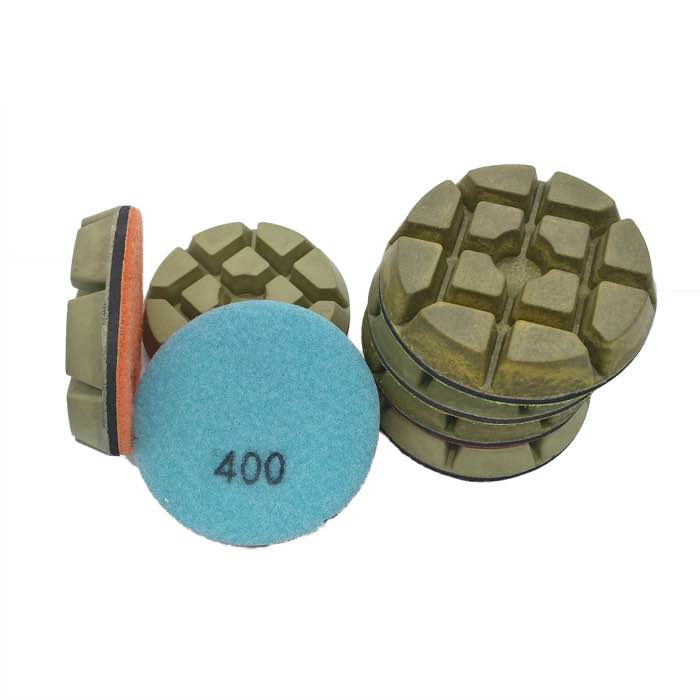
Small defects in polished concrete can be touched up without redoing the whole floor. Clean the defect, grind it open to sound concrete, fill it with a matching cement or epoxy patch, let it cure, then re-grind and re-polish through the same grit sequence as the surrounding floor. Expect a repair area of 100 mm to 500 mm across to blend invisibly if you feather the edges and match the sealer. The mistake to avoid is buffing the patch alone: that leaves a bright disc where the repair sits next to a slightly duller surrounding floor.
A spall is a small chip missing from the surface, often around a door threshold, a trolley wheel or a dropped object. It exposes a rough edge of paste and sometimes a loose stone. The fix is to undercut the edges, brush out dust, fill with a fast-setting cementitious or epoxy repair mortar, and then grind flush once cured.
Pinholes are small holes left by entrapped air during trowelling. They look like dark dots in the polished surface, usually 1 to 3 mm across. A patch repair at the surface is usually enough: fill with a clear or tinted epoxy, squeegee flat across the whole area, and polish flush once cured. Do not try to grind them out; that only widens the hole and leaves a faint ring around the original dot.
Work small and keep the repair area tight:
The biggest tell of a touch-up is the finish level. If the surrounding floor is 800 grit honed, the repair must go back through 800 grit, not stop at 400. Use resin polishing pads like JOY-RFP-01 to match the honed level, and run the same grit sequence as the surrounding floor if it is a gloss. Burnish the transition zone, not just the patch, so the gloss meter reads the same on both sides.
It is tempting to spend all the machine time on the 200 mm repair and leave the surrounding floor untouched. The result is a bright, polished circle next to a slightly dull, worn field. Always feather 100 to 200 mm beyond the patch and run the whole transition back through the last grit, even if the surrounding floor only needs a light pass.
A grey cement patch in a dense, polished floor will read as a different colour after it cures, because new cement paste has a different water demand. Use a patch matched to the original mix, or tint the epoxy to the surrounding aggregate. Test the colour on an inconspicuous corner first, and remember copper-bond transitional pads such as JOY-RFP-C2 are the right step between the patch grind and the resin polish, so the new paste does not leave scratches.
Touch-ups make sense for a handful of defects. If the floor has more than about one repair per 10 m², the economics change: you are better off re-grinding the whole area through 400 grit and re-sealing than chasing each hole. A full re-polish is faster and gives a uniform result. Use white resin pads like JOY-RFP-04 for the final pass on a re-polished area, so the repaired zone does not read warmer or darker than the rest of the floor. Budget one to two days for a patch repair on a single defect, and three to five days for a full re-polish of a 200 m² room, so the client can plan the shutdown. After the patch cures, wait a full 24 hours before opening the area to foot traffic, and 72 hours before rolling heavy equipment back over it; rushing the return to service is the second most common reason a new patch fails. Keep the area taped off during curing so foot traffic cannot wander across it early. A clean patch is an invisible patch; a rushed one is not.
Small defects do not mean a full floor redo. Grind out, patch, cure, re-grind through the correct grit sequence, feather the edges, and match the sealer. A good touch-up should be invisible to anyone who was not standing there when the trolley hit the floor. If the defects spread, switch strategy and plan a full re-polish rather than accumulating patches.
Written and reviewed by JOY TECH - an SGS & BV audited, CE/RoHS certified diamond tools manufacturer founded in 2004, exporting to 50+ countries.
Our factory and quality management system are audited by SGS and Bureau Veritas. Products meet CE/RoHS requirements and every piece is 100% inspected before packing.
Verified Certificates
