Average response time: under 24 hours
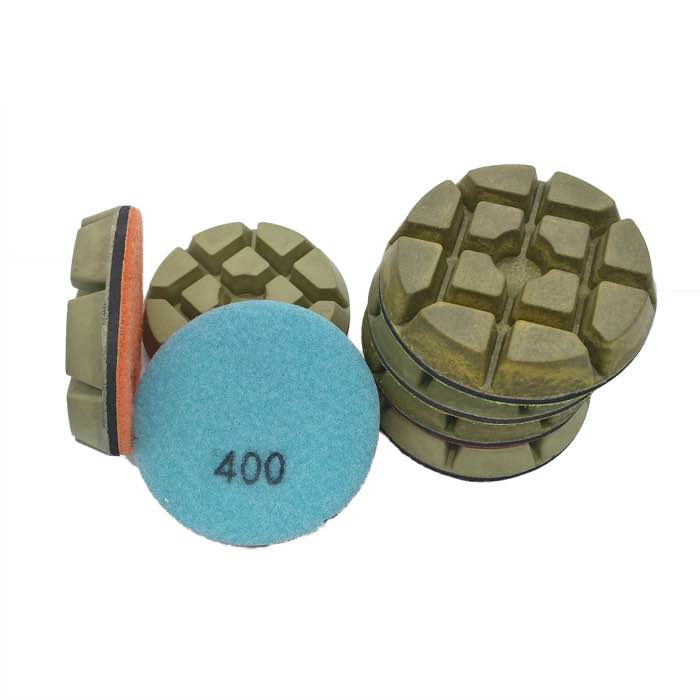
Start by identifying scratch depth. Fine swirls lift with a 400 to 800 grit resin pass. Deep gouges need a 100 or 200 grit metal-bond cut first. Always work outward from the scratch, feathering 30 cm beyond the mark, then climb back through 400, 800, 1500, and 3000 resin grits. Densify if the slab shows open pores. A scratch repair takes 1 to 2 hours on a 1 m² spot; skipping grits locks the scratch in forever.
Walk the floor at dusk with a bright flashlight at grazing angle. Scratches that catch light and feel rough are real cuts; marks that disappear when wet are just surface smudges that will mop off. Most people over-treat smudges and under-treat real cuts.
A scratch you can feel with a fingernail needs a metal-bond pass. A fine line invisible except in raking light starts at 400 grit. A black smudge with no groove is rubber or furniture transfer, and wipes off with acetone. Label each mark on a floor plan so you treat the deep ones first and mop the rest.
If the scratch cuts into the densified paste and you can see a groove, start with 100 or 200 grit metal-bond diamonds. Use a small hand grinder or a single-disc machine over the affected area. Cut just enough to flatten the groove; do not over-cut. Copper-bond transitional pads like JOY-RFP-C2 bridge the gap between the metal pass and the resin sequence, saving a step on hard slabs.
Keep a fresh set of resin pads for touch-ups so worn pads do not leave a second swirl pattern. Worn pads glaze the surface instead of cutting, and a glazed touch-up patch is harder to hide than the original scratch. Work the patch under good light; a garage or office window is not enough. Bring a portable work light so you can see every pass you have made.
A spot re-polished in isolation never matches the surrounding sheen. Feather the repaired zone 30 to 60 cm beyond the scratch so the transition is invisible. Walk the boundary at an angle with a torch; if you can see the edge, keep feathering. Match the direction of the existing pad work; cross-hatching shows up as a tone patch. Let the patch dry fully before you judge the sheen; wet concrete reads darker and will fool the eye.
A burnisher will brighten a scratch for a few days but cannot cut it out. The mark returns as soon as the surface oil wears. Always re-hone, then burnish last.
Hand polishers leave a circular swirl pattern that does not match the machine pass direction. Use a walk-behind or single-disc machine for any scratch larger than a palm.
Re-honing opens fresh pores. Without a light densifier coat, the patch dusts within months. Apply densifier after the 400 grit pass, let it react 2 to 4 hours, then continue.
If the scratch network covers more than 10 m², or if the floor already shows patchy wear across multiple lanes, treat it as a full re-hone rather than spot repair. Spot fixes on a tired floor multiply into a patchwork quilt. For a scratch audit on a commercial floor, send photos through contact us; most scratches are fixable, but the starting grit decides whether the repair takes one hour or one day.
A well-maintained polished floor picks up 2 to 3 new scratches per month in light commercial use. Treat each within the week and the floor stays mirror-bright for a decade. Keep a scratch log with dates and locations; over a year it tells you exactly which door, chair, or cart is the source, and you can fix the root cause instead of polishing the same spot twice. A floor that gets re-honed on schedule also needs far fewer emergency scratch repairs than one left to wear.
Written and reviewed by JOY TECH - an SGS & BV audited, CE/RoHS certified diamond tools manufacturer founded in 2004, exporting to 50+ countries.
Our factory and quality management system are audited by SGS and Bureau Veritas. Products meet CE/RoHS requirements and every piece is 100% inspected before packing.
Verified Certificates
