Average response time: under 24 hours
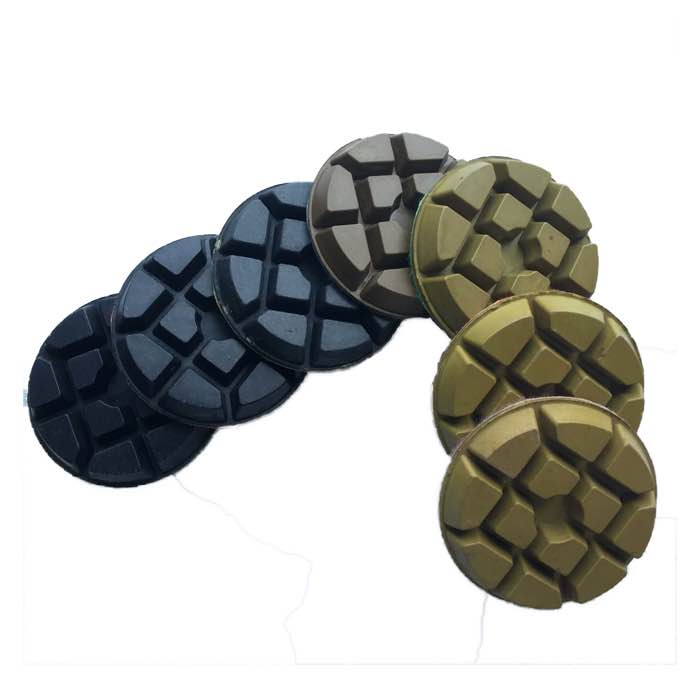
Grinding lines stay visible after polishing when the previous grit's scratches were not fully removed, the pads are worn or loaded, the machine pressure was uneven, or debris was trapped under the pads. Fix it by going back one or two grits and re-polishing with clean, matched pads in overlapping passes, then stepping back up through every grit without skipping. The rule is simple: each grit must fully remove the scratches of the previous one before you move on. For the right tooling on this job, see clean resin polishing pads, white finishing pads.
Every grit leaves scratches. The next finer grit is supposed to remove them. If you skip a grit, step up too fast, or rush the passes, the coarse scratches stay under the fine polish and show up as lines, especially in raking light. Worn pads cut unevenly, a loaded pad polishes in streaks, and debris between the pad and floor scratches the surface. All of these leave the same signature: visible lines on a supposedly finished floor. Related tooling is available in our 8-triangle resin pads range.
Go back to the grit where the lines belong. If the lines are deep and coarse, the scratch is from an early metal-bond stage and you must re-grind that stage before polishing. If the lines are fine and streaky, the problem is the resin stages: worn pads, uneven pressure or debris. Test with a coarse look first, then refine. Re-polishing the wrong stage wastes time; re-polishing the right stage fixes the floor.
Follow the grit sequence completely, check each stage with a bright light at a low angle, and keep the pads clean and matched. Change the machine direction between stages so the final scratches do not align with the earlier ones. Do not let the machine idle on one spot, and vacuum between stages so nothing gets trapped under the pads. The prevention is boring but effective: complete grits, clean pads, even passes.
A> Lines that survive fine grits were made by a coarse stage that was never fully removed, or by worn pads and debris. Go back to the grit that matches the scratch depth and re-polish up cleanly.
A: Yes, if the concrete is not damaged. Re-polish from the right grit with clean pads and complete passes. Deep scratches from metal-bond stages need that stage repeated first.
A: Use a bright light at a low angle and look along the floor. If you can see the previous grit's scratches, that stage is not finished. Never step up until it is clean.
Grinding lines appear after polishing when the sequence was rushed or the tooling was not clean. Go back to the offending grit, re-polish with clean matched pads in overlapping passes, and step through every grit without skipping. Check each stage in raking light and the lines disappear, for good.
Written and reviewed by JOY TECH - an SGS & BV audited, CE/RoHS certified diamond tools manufacturer founded in 2004, exporting to 50+ countries.
Our factory and quality management system are audited by SGS and Bureau Veritas. Products meet CE/RoHS requirements and every piece is 100% inspected before packing.
Verified Certificates
