Average response time: under 24 hours
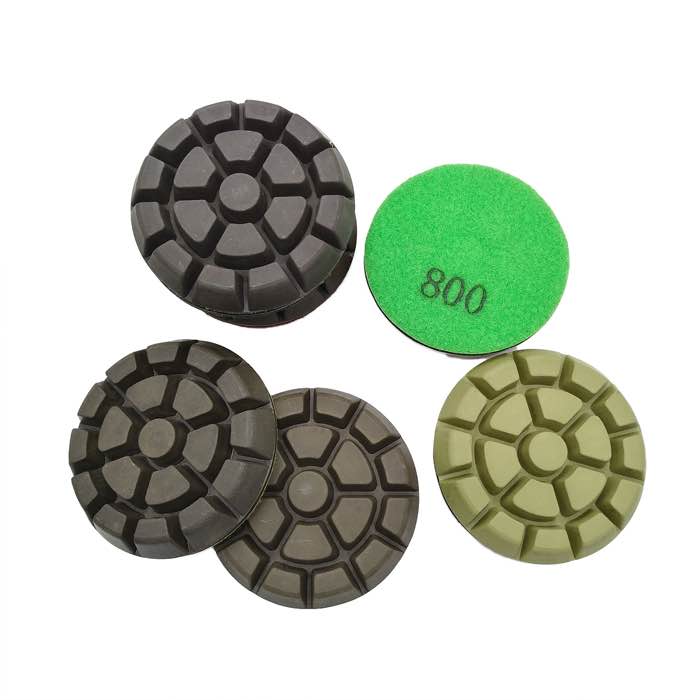
To polish concrete with a hand polisher, use a variable-speed polisher set to 2,000-3,500 RPM with velcro-backed diamond resin pads, work wet, and run the same grit sequence you would on a floor: coarse to fine (50 → 200 → 400 → 800 → 1500 → 3000). Hold the pad flat, keep it moving in overlapping passes, and clean the surface between every grit. A hand polisher is the right tool for steps, edges, patches, and small slabs the floor machine cannot reach — it is slow on large areas, but the finish is identical when done properly.
Hand polishers exist because floors have steps, edges, and patches. A floor grinder cannot reach a riser, a border, or a 0.5 m² repair. The hand polisher covers these with the same pad family, which is why the finish can match. It also suits small jobs — a countertop, a threshold, a vanity — where renting a floor machine is overkill. The trade-off is speed: a 125 mm hand polisher covers maybe 1-2 m² per hour at finishing grits, so use it where the machine cannot go, not where it can.
Use a variable-speed polisher rated for stone and concrete work, in the 1,500-3,500 RPM range. A fixed-speed angle grinder runs too fast for resin pads — it melts the resin and leaves burn marks. Fit a backing pad with velcro, and buy diamond resin polishing pads in the full grit range. Match the pad diameter to the backing pad exactly — a pad larger than the backing plate flops and leaves a wavy surface.
Wet polishing is standard for hand work: a water spray bottle keeps the pads wet, controls heat, and produces the slurry that does the final burnishing. Work over a catch basin or collect the slurry with towels if you are indoors.
Keep the pad flat and moving. Dwell in one spot burns the resin and discolors the concrete. Overlap each pass by half the pad so the finish is even, and check the surface at a low angle for skipped patches before moving to the next grit. For edges and profiles, run the pad edge along the surface — the same pads work on radius edges.
After the final grit, clean the surface completely, then apply sealer if the area will take traffic or staining. For patches on an existing polished floor, match the sealer type and sheen of the surrounding floor, and feather the patch edges with the coarse grits first so the repair blends. If you are matching a small area to an existing floor, see the matching technique in how to fix scratches on polished concrete — the same blend-in logic applies.
Finish small areas with the same diamond resin polishing pads the floor machine uses.
Yes. A variable-speed polisher with diamond resin pads works wet through the standard grit sequence. It is the right tool for steps, edges, patches and small slabs the floor machine cannot reach.
2,000-3,500 RPM for resin pads. Fixed-speed angle grinders run too fast and burn the resin; use a variable-speed machine rated for stone work.
Yes. Wet polishing keeps the resin cool, prevents burn marks, and produces the slurry that refines the final gloss. Keep a water spray bottle handy.
Yes, with the same grit sequence and clean technique. Hand work is slower but the gloss at the final grit is identical when each step is completed properly.
A hand polisher brings the full polishing sequence to the places a floor machine cannot go: steps, edges, patches, and small slabs. Run variable speed with resin pads, work wet, follow the grit progression without skipping, and clean between every step. Slow but precise, hand polishing matches a machine finish when the technique is right — and it is the tool that makes a polished floor look finished everywhere, not just in the open areas.
Written and reviewed by JOY TECH - an SGS & BV audited, CE/RoHS certified diamond tools manufacturer founded in 2004, exporting to 50+ countries.
Our factory and quality management system are audited by SGS and Bureau Veritas. Products meet CE/RoHS requirements and every piece is 100% inspected before packing.
Verified Certificates
