

How to Grind Concrete Under a Kitchen Island Base
How to Grind Concrete Under a Kitchen Island Base
Quick Answer
Grind the concrete under a kitchen island base with a small hand-held grinder and a compact diamond cup wheel or a narrow trapezoid disc, not a walk-behind machine. Protect the cabinet legs and toe kick, set up a HEPA vacuum and a dust shroud, work in short passes, and keep the grinding depth to 0.1-0.3 mm unless the specification says otherwise. The goal is a clean, profiled surface for adhesive or coating, not a polished floor.
Measure the Access Before Choosing Tooling
A kitchen island base usually leaves a gap of 100-200 mm between the floor and the cabinet bottom, with legs or a toe kick in the way. Measure the clear height, the distance between legs and the depth under the base. If the gap is under 100 mm, a standard 100 mm cup wheel may not fit; use a 75 mm cup wheel or a diamond grinding plug on a die grinder.
Check for water, gas and electrical lines before grinding. A kitchen island may have a sink drain, dishwasher feed or electrical conduit under the base. Scan the slab and confirm the services with the homeowner or contractor. Never grind over a line you have not located.
Protect the Cabinet and the Room
- Tape plastic sheeting from the countertop down to the floor around the island.
- Wrap the legs and toe kick with foam or cardboard; vibration can loosen joints.
- Seal doorways and HVAC returns with plastic and turn off the air handler if possible.
- Use a HEPA vacuum with a dust shroud; a shop vacuum without HEPA will spread silica dust.
- Keep the work area negative-pressure with a fan exhausting outside.
Tooling for a Tight Space
Use a variable-speed angle grinder with a 100-125 mm diamond cup wheel for the open floor, and a 75 mm cup wheel or a grinding plug for the corners and around the legs. A 12-arrow or hurricane cup wheel clears dust and does not load up on soft concrete. A single-row cup wheel is more forgiving in a tight space than a double-row wheel, which can grab and kick.
For a narrow strip behind a toe kick, a diamond grinding plug on a die grinder gives better control than a cup wheel. Keep the tool flat; tilting a cup wheel under a cabinet can gouge the floor or catch the toe kick.
Grinding Sequence
- Vacuum the area and remove loose debris, old adhesive or paint with a scraper.
- Start at the open edge and work toward the back, keeping the grinder flat.
- Use short overlapping passes, 300-500 mm long; do not dwell in one spot.
- Check the profile every few passes with a straight edge and a hand-held gloss meter or visual comparison.
- Stop at a uniform matte surface; do not grind through the top paste into coarse aggregate.
- Vacuum, wipe with a damp cloth and let dry before adhesive or coating.
Depth and Surface Profile
For a flooring adhesive or a thin coating, target CSP 2-3: 0.1-0.3 mm of paste removal, with fine aggregate visible but not exposed stone. For a self-leveling compound, the surface should be roughened but not deeply scored; 30/40 grit is usually enough. If the slab has a curing compound or a hard trowel finish, make two light passes rather than one heavy pass.
Do not try to level a sloped slab by grinding under the island. Grinding removes millimeters, not centimeters. If the floor is out of level, use a patching compound after grinding, not a deeper grind.
Dust and Slurry Control
Dry grinding with a HEPA shroud is the default. If the area is too tight for a shroud, use a wet sponge or a low-flow water feed and a wet vacuum. Never use a garden hose in a finished kitchen. Wipe surfaces with a damp microfiber cloth after grinding; dry dust settles on cabinets and can re-entrain later.
Frequently Asked Questions
Q: Can I use a floor grinder under a kitchen island?
A: No. A walk-behind grinder will not fit and cannot control the edge. Use a hand-held grinder with a small cup wheel or plug.
Q: How much concrete should I remove?
A: 0.1-0.3 mm for adhesive or thin coating. Stop when the surface is uniformly matte and fine aggregate is visible.
Q: What if the cabinet legs are in the way?
A: Work around them with a 75 mm wheel or plug. Do not loosen or cut the legs; protect them and grind in small sections.
Q: Do I need to prime after grinding?
A: Follow the adhesive or coating manufacturer. Most require a primer after vacuuming; some self-levelers need a specific primer over a ground surface.
Conclusion
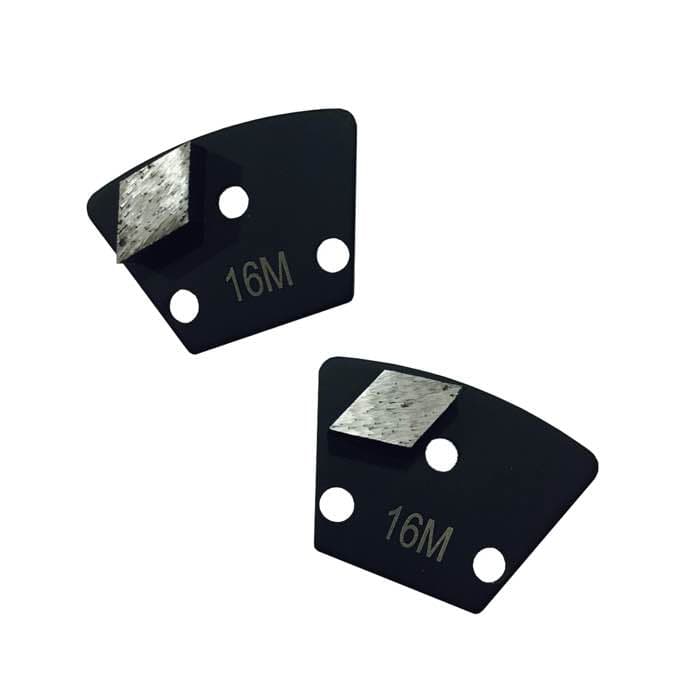
Grinding under a kitchen island is a detail job: small tool, flat passes, strong dust control and a conservative depth. Measure the gap, protect the cabinet, use a cup wheel for the open floor and a plug for the corners, then vacuum and prime. JOY TECH supplies single-rhombus trapezoid discs and 12-arrow cup wheels for tight-area floor prep.
Products used in this guide
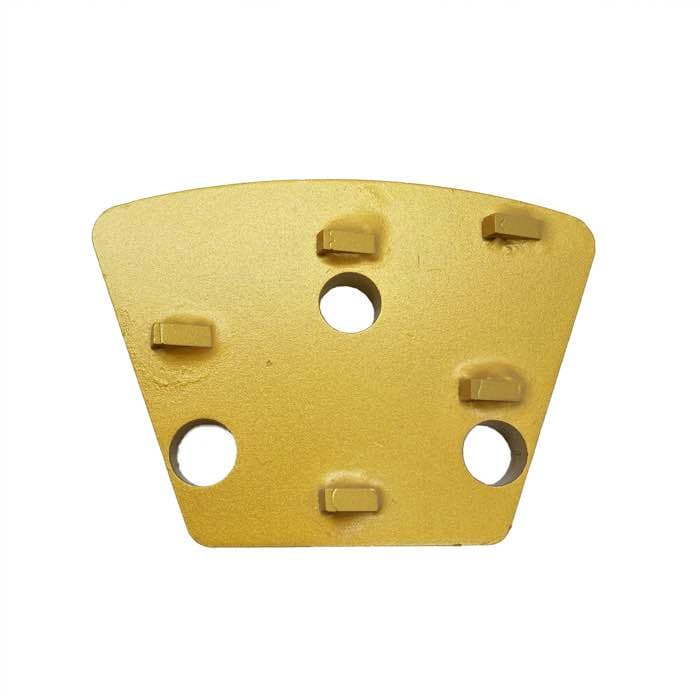
Diamond Trapezoid Grinding Disc with 5 Small PCD (JOY-TP-PCD5)
View specs →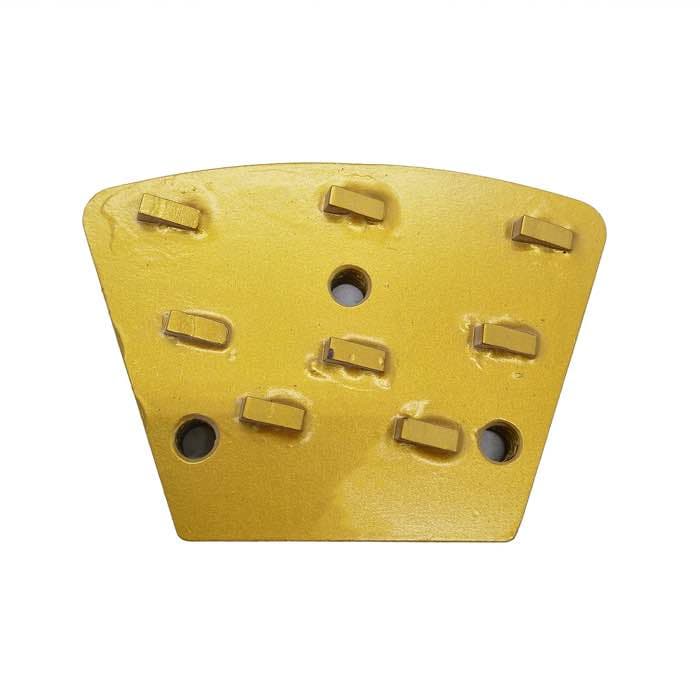
Diamond Trapezoid Grinding Disc with 8 Small PCD (JOY-TP-PCD8S)
View specs →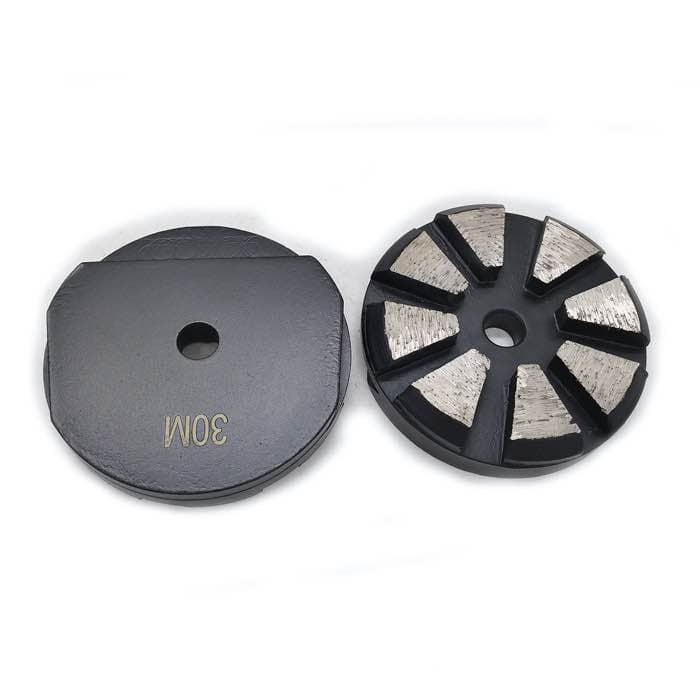
3'' Diamond Grinding Disc with 8 Segment for Lavina Floor Grinder (JOY-LVS-T8)
View specs →Need this tool for your job?
MOQ 1 · 7–30 days by order quantity · FOB & CIF · free sample on request
Author & Manufacturer
Written and reviewed by JOY TECH - an SGS & BV audited, CE/RoHS certified diamond tools manufacturer founded in 2004, exporting to 50+ countries.
Quality & Compliance
Our factory and quality management system are audited by SGS and Bureau Veritas. Products meet CE/RoHS requirements and every piece is 100% inspected before packing.
Verified Certificates
- • SGS Audited Supplier — Report No. QIP-ASI227442 & QIP-ASR247051
- • Bureau Veritas Verified — Report No. MIC-ASR257059
- • CE & RoHS Certificate of Conformity — No. CS240925001HRZ